Table of Contents
It is recommended to start solid meals for your kid when they are six months old. This process of introducing solid foods is known as complementary feeding or weaning.
Getting your infant accustomed to the food is more crucial in the beginning than feeding them a lot.
Remember, that breastmilk or the first baby formula is still the most important source of your baby’s energy and nutrition.
From about six months of age, offering your baby a range of meals in addition to breast or formula milk will help prepare them for a lifetime of better eating.
You’ll be able to gradually increase the quantity and variety of foods your infant consumes.
Why should we wait until 6 months to introduce solids?
It is advised not to rush on introducing foods to your baby until they are six months old as this will benefit their growth and well-being. The main explanations for this timing are as follows:
1. Digestive System Maturity
A baby’s undeveloped digestive system might result in digestive problems including constipation, diarrhea, or even allergies when solid foods are introduced too early.
Their stomach and intestines are ready to process and absorb nutrients from more complex foods once they reach six months of age.
2. Nutritional Adequacy
During a baby’s first six months of life, breast milk or formula naturally balances out all the essential nutrients. These nutrient-rich sources may become disrupted if other foods are introduced too soon.
The baby’s iron reserves start to diminish at six months, which is a great time to start introducing iron-rich meals (such lentils or fortified cereals).
3. Reducing Risk of Allergies
There is a correlation between starting meals closer to six months and a decreased chance of food allergies and sensitivities
Additionally, introducing allergy-causing foods like peanut butter or eggs gradually and securely with the assistance of a pediatrician is beneficial.
4. Oral Motor Skills Development
Most babies can control their tongues better by the time they are six months old, and they no longer have the tongue-thrust reflex, which causes them to push food out of their mouths. They can learn how to swallow purees and other soft foods without choking more easily as a result.
Additionally, they develop improved head and neck control, which facilitates consuming solid foods securely when erect.
5. Supporting Long-term Health
Research shows that waiting until 6 months to start solids can reduce the risk of obesity later in life, as the early introduction of solids has been linked to overfeeding and improper growth patterns.
Breast milk or formula until 6 months also helps in protecting against infections like gastrointestinal and respiratory infections because of the antibodies present.
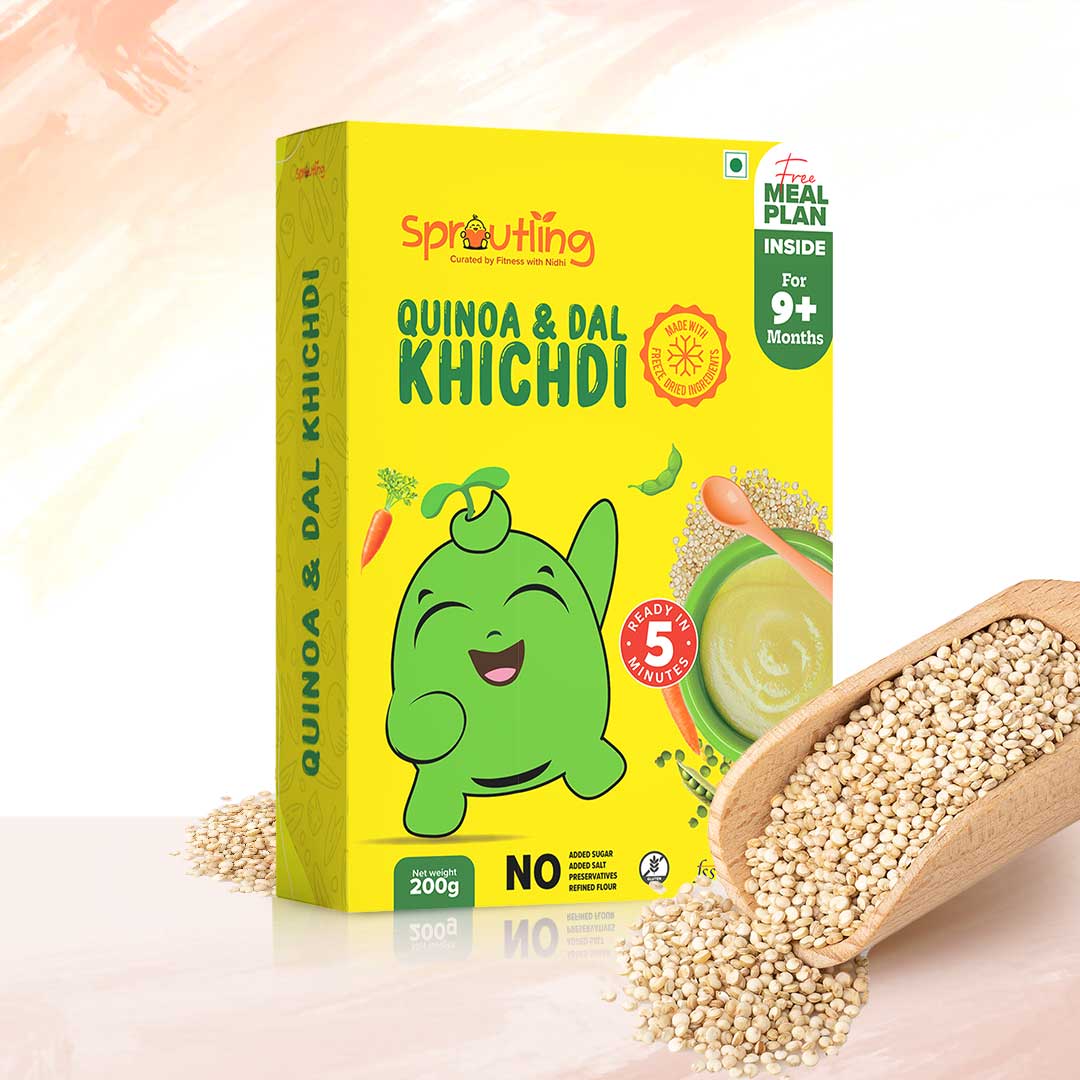
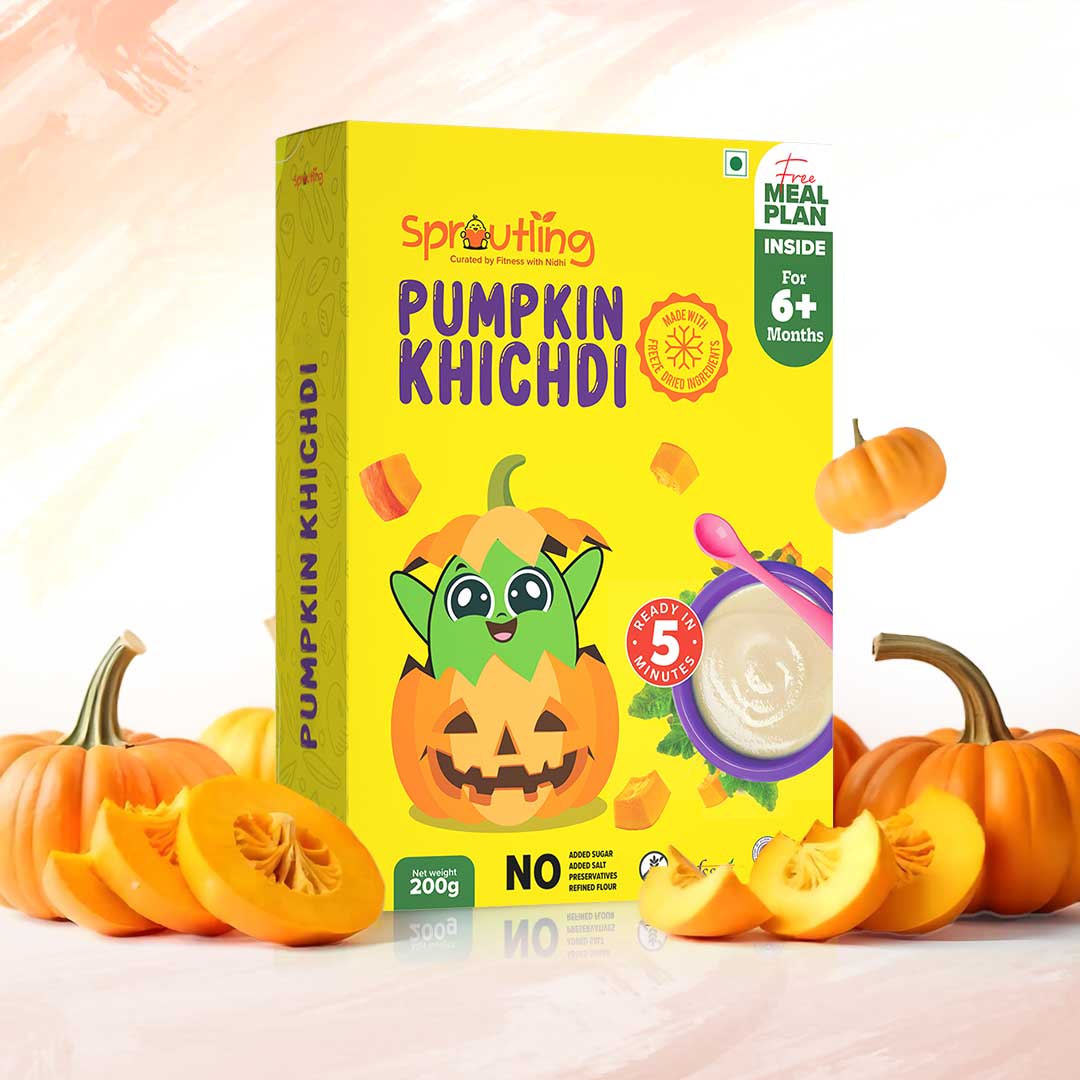
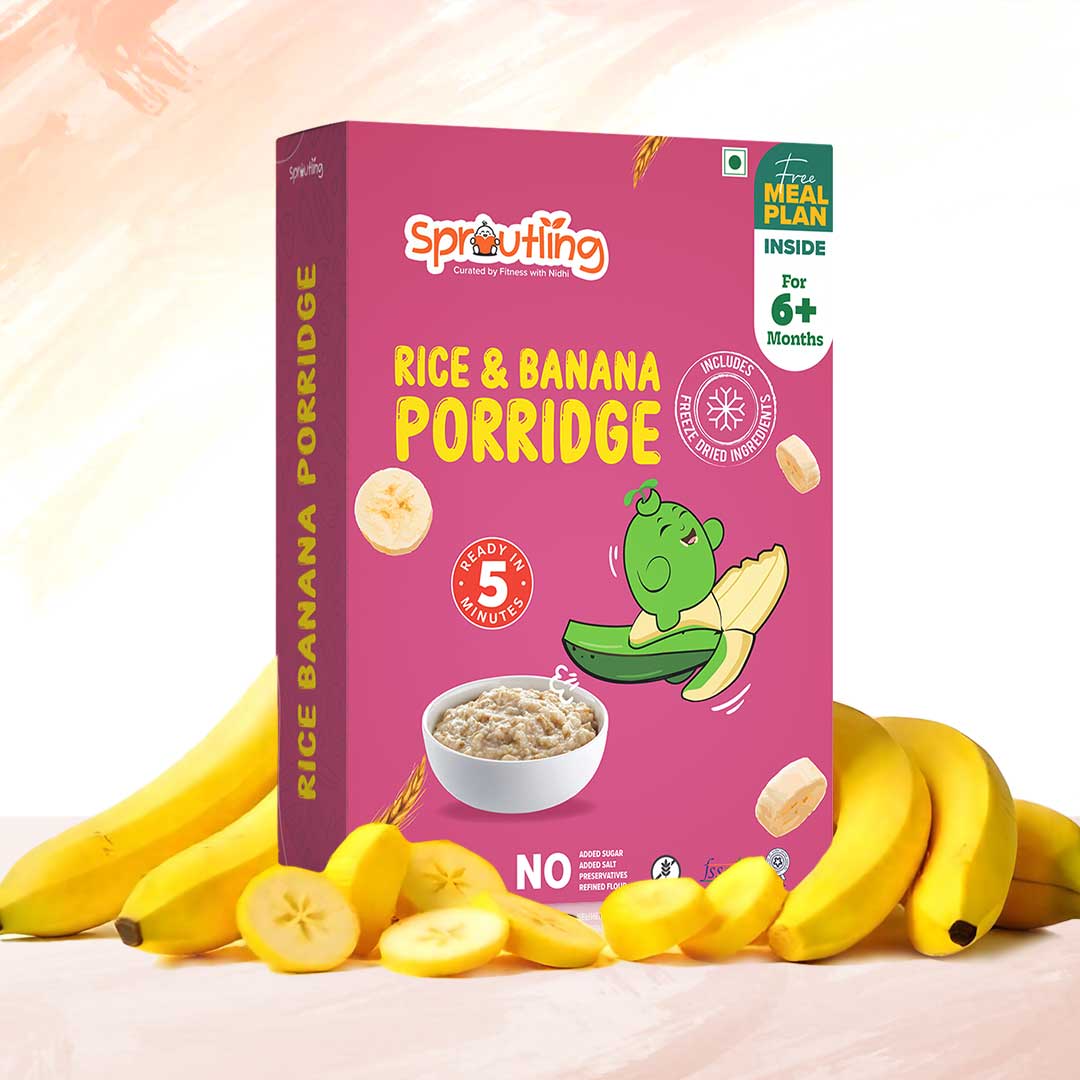
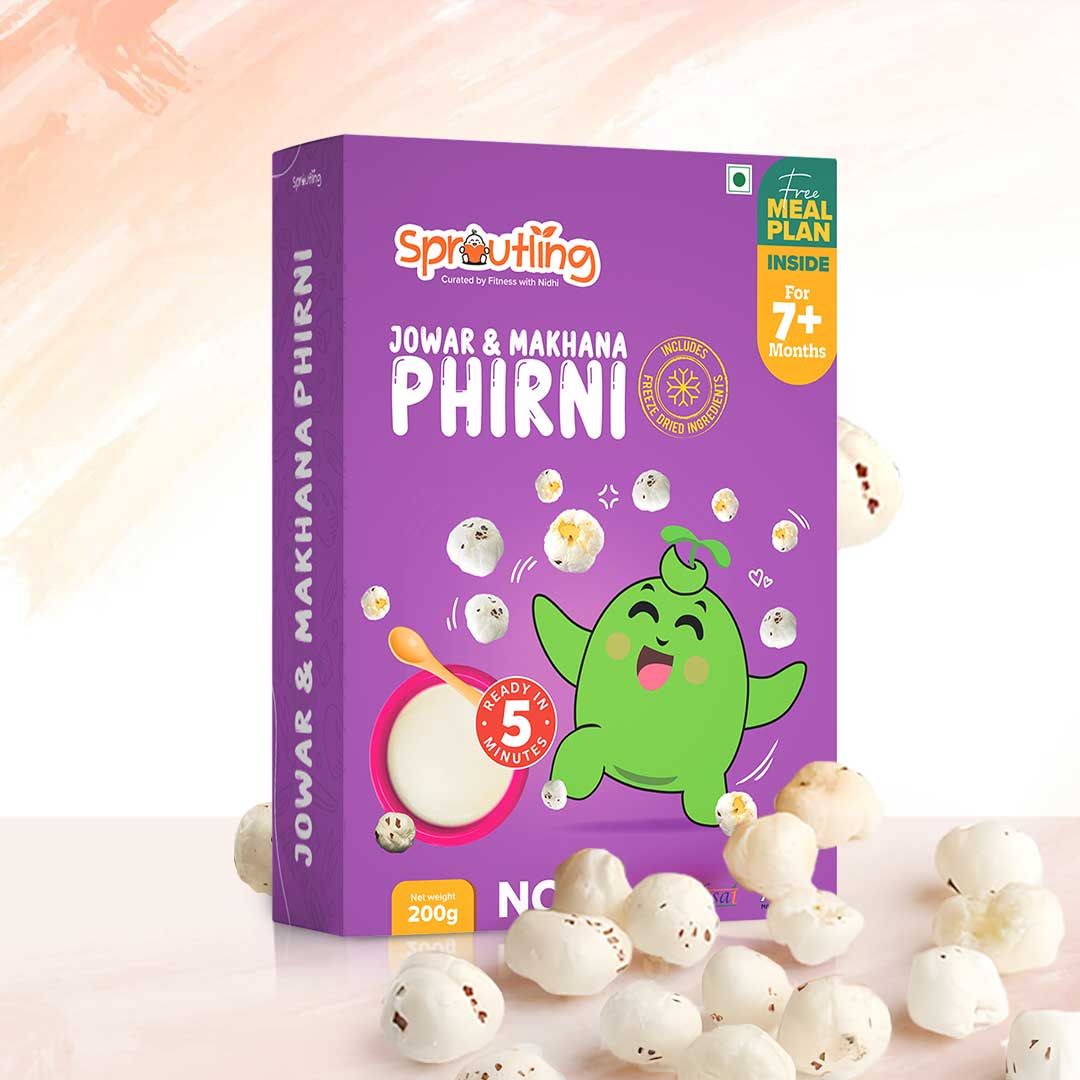
we can have a picture here with all our 4 products together and CTA
Signs your baby is ready for solid foods
Some common signs that indicate your baby might be ready to start solids:
1. Good Head and Neck Control
Your baby can hold their head up steadily and sit upright with little or no support. This is crucial for safely swallowing solid foods.
2. Sitting Up with Support
Babies should be able to sit up well when supported. This helps reduce the risk of choking and ensures they can handle food safely.
3. Interest in Food
Shows curiosity when you eat, like reaching out for food, watching you eat, or opening their mouth when food is near. They may even mimic chewing motions.
4. Loss of Tongue-Thrust Reflex
The tongue-thrust reflex (which makes babies push food out of their mouth) diminishes around 6 months, making it easier for them to keep food in their mouths and swallow.
5. Increased Appetite
Even after breastfeeding or formula feeding, your baby seems hungry and unsatisfied, signaling that they may need more than just milk for their growing needs.
6. Ability to Grab Food and Bring It to the Mouth
Babies who can pick up small objects with their fingers and try to bring them to their mouths are showing readiness for self-feeding with small pieces of soft food.
7. Opening Mouth When Food is Near
Your baby might open their mouth when they see a spoon coming toward them, indicating a willingness to try eating from a spoon.
- Parents may misinterpret the following behaviors as indications that their child is ready for solid foods:
- if they are awake during the night and chewing their fists (more than usual) or they require more milk feeds
- All of these behaviors are typical for newborns and don’t always indicate that they’re hungry or ready to start solid meals.
How to start solid foods?
In the beginning your baby will only need a small amount of food before their usual milk feed.
They’ll still be getting most of their energy and nutrients from breast milk or infant formula.
There are some foods to avoid giving to your baby. For example, do not add sugar or salt to your baby’s food or cooking water.
A step-by-step guide on how to introduce solids safely and enjoyably:
1. Start with Single-Ingredient Purees
Begin with simple, single-ingredient purees to introduce one new flavor at a time. This makes it easier to identify any potential allergies or sensitivities.
Examples include:
- Vegetables: Carrots, sweet potatoes, peas, pumpkin.
- Fruits: Apple, banana, pear, avocado.
- Grains: Rice cereal, oatmeal, or other iron-fortified single-grain cereals.
2. Choose the Right Time of Day
Pick a time when your baby is well-rested and not too hungry (so they aren’t frustrated).
A good time is usually mid-morning or early afternoon, which allows time to monitor for any reactions.
3. Offer a Small Amount
- Start with just 1-2 teaspoons of puree once a day.
- Use a small, soft-tipped spoon and let your baby explore the food by touching or playing with it. It’s normal if they don’t eat much at first.
4. Watch for Allergies
- Introduce a new food and wait 3-5 days before adding another. This helps you spot any allergic reactions such as rashes, diarrhea, or vomiting.
- Common allergens like peanut butter, eggs, or dairy can be introduced in small amounts as early as 6 months, with guidance from a pediatrician.
5. Gradually Increase the Variety
- After trying several single-ingredient foods, you can begin to combine them for more complex flavors (e.g., carrot and apple puree).
- Move from smooth purees to mashed textures or soft, lumpy foods as your baby gets used to eating solids.
6. Iron-Rich Foods
- At around 6 months, babies need extra iron. Incorporate iron-rich foods like fortified cereals, pureed meats, lentils, or beans.
- Offering vitamin C-rich foods like citrus fruits, tomatoes, or broccoli alongside iron-rich foods helps improve iron absorption.
7. Involve Baby in Mealtime
- Let your baby join family mealtimes so they can observe you eating, which encourages their interest in food.
- Offer foods in a high chair to ensure they are in an upright position while eating.
8. Monitor Baby’s Cues
- Respect their appetite and hunger cues. If your baby turns away, closes their mouth, or shows disinterest, don’t force-feed them.
- Eating is about exploration and learning at this stage, so allow your baby to set the pace.
9. Avoid Certain Foods
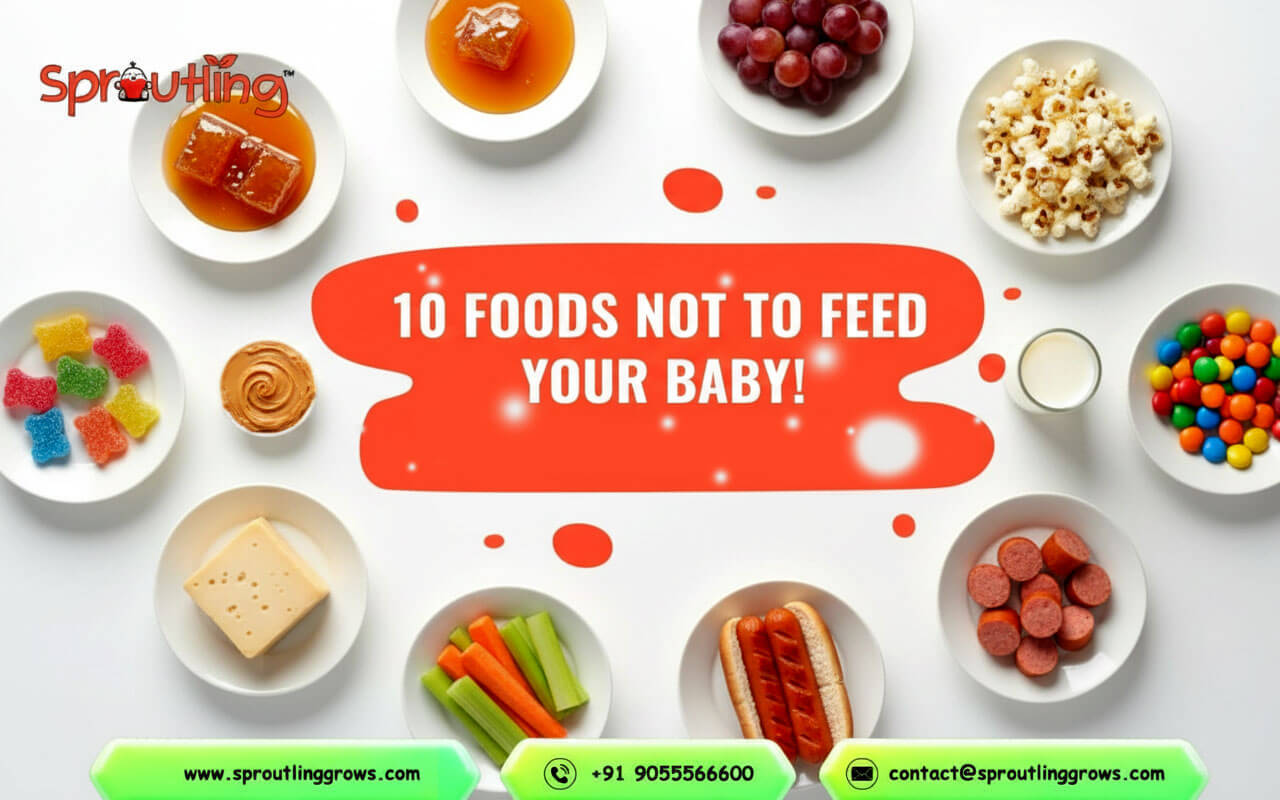
- Avoid honey before 1 year, as it can cause infant botulism.
- Avoid foods that are choking hazards like whole grapes, nuts, popcorn, and chunks of raw vegetables.
- Limit added sugar, salt, and heavily processed foods.
10. Continue Breastfeeding or Formula
- Solids are just a supplement to breast milk or formula at this stage. Continue to breastfeed or provide formula alongside solid foods until about 12 months or as per your pediatrician’s advice.
11. Let them feed themselves
Let your baby enjoy touching and holding the food. Allow them to feed themselves, using their fingers, as soon as they show an interest. If you’re using a spoon, your baby may like to hold it or another spoon to try feeding themselves.
Read also: Tiny Bites for Tiny Hands: Finger Foods for Baby-Led Weaning
12. Avoid devices during meal time
Keep distractions to a minimum during mealtimes and avoid sitting your baby in front of the television, phone or tablet.
We can have an image of sprouty, reaching out for food and putting in mouth
Safety and hygiene
It’s crucial to exercise additional caution while introducing solid foods to your infant in order to prevent harm to them.
Important tips for food safety and hygiene include cleaning surfaces and washing your hands before preparing food.
- Cool down hot food and give it a try before feeding your infant.
- Clean and cut fruit and uncooked veggies.
- Steer clear of tough foods like entire nuts, raw carrots, and apples.
- Take off the hard seeds and pip from fruits, and the bones from fish or meat.
- Cut small, spherical foods into tiny pieces, such as cherry tomatoes and grapes.
- When your infant is eating, stay by their side at all times in case they choke.
Equipment checklist
When starting solids for your baby, having the right equipment can make the process smoother and more enjoyable. Here’s a list of essentials to help you get started:
1. High Chair
- A sturdy, easy-to-clean high chair with a footrest is ideal for feeding solids. It should allow your baby to sit upright safely during meals.
- Look for one with a removable tray for easy cleaning.
2. Baby Spoons
- Use soft-tipped, shallow spoons specifically designed for babies’ delicate mouths.
- Opt for small-sized spoons that make it easier for little mouths to take a small amount of food at a time.
3. Bowls
- Baby bowls with suction bases are great as they help prevent spills or tipping over when your baby explores the food.
- Make sure they’re BPA-free and safe for use in the dishwasher and microwave.
4. Bibs
- Waterproof, easy-to-wipe bibs with a pocket at the bottom can catch spills and crumbs, making cleanup much easier.
- Silicone bibs are great for reducing laundry and keeping clothes cleaner.
5. Blender or Food Processor
- A high-quality blender or food processor helps make smooth purees from vegetables, fruits, and grains.
- Alternatively, you can use a baby food maker, which steams and blends food in one machine.
6. Freezer Trays/Storage Containers
- Silicone freezer trays with lids are perfect for storing small portions of baby food. You can freeze purees and pop out a portion when needed.
- Small, BPA-free storage containers can also be used to store homemade baby food in the fridge or freezer.
7. Steamer Basket
- A steamer basket is helpful for steaming vegetables and fruits before blending, as it helps retain more nutrients compared to boiling.
- Place it in a regular pot to steam a variety of foods for purees.
8. Sippy Cups or Straw Cups
- Introducing sippy cups or straw cups with water alongside solids can help your baby get used to drinking from a cup.
- Look for one that is easy for your baby to grip and sip from.
9. Mashers or Food Mills
- A potato masher or manual baby food mill can be useful for mashing foods like bananas, avocados, or cooked veggies.
- This is particularly useful when you transition from smooth purees to more textured foods.
10. Silicone Baby Feeding Mats
- Mats that stick to the high chair tray can be used for baby-led weaning. They can hold different types of food and help babies explore self-feeding.
11. Cleaning Brush
- A baby bottle brush is useful for cleaning narrow cups, sippy cups, and the small parts of baby feeding tools.
12. Thermometers (Optional)
- If you’re concerned about serving temperatures, you can use a food thermometer to ensure that purees and meals are at a safe temperature before serving.
we can have multiple images in one infographic , sprouty sitting on high chair, sprouty wearing bib, sprouty with spoon and bowl, sprouty with a sippy cup
The World Health Organization recommends that all babies are breastfed for up to 2 years or longer.


